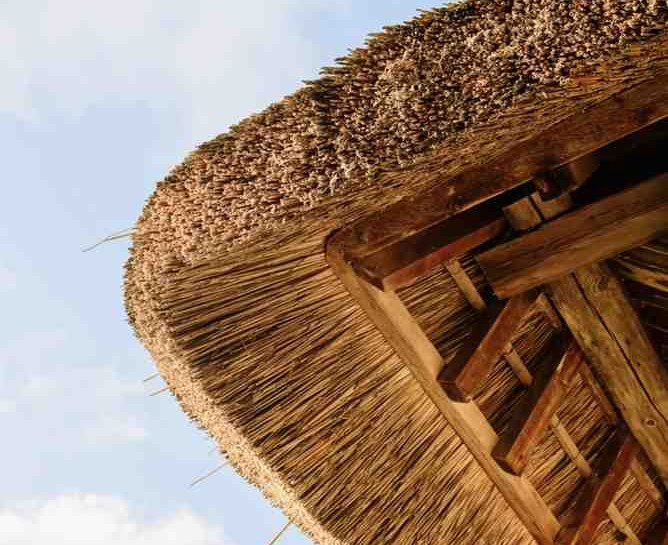
Ever wonder what those tropical umbrellas are called? They are palapa thatch umbrellas, a style of thatch that originates from the Philippines that made its way to Central America in the 16th century.
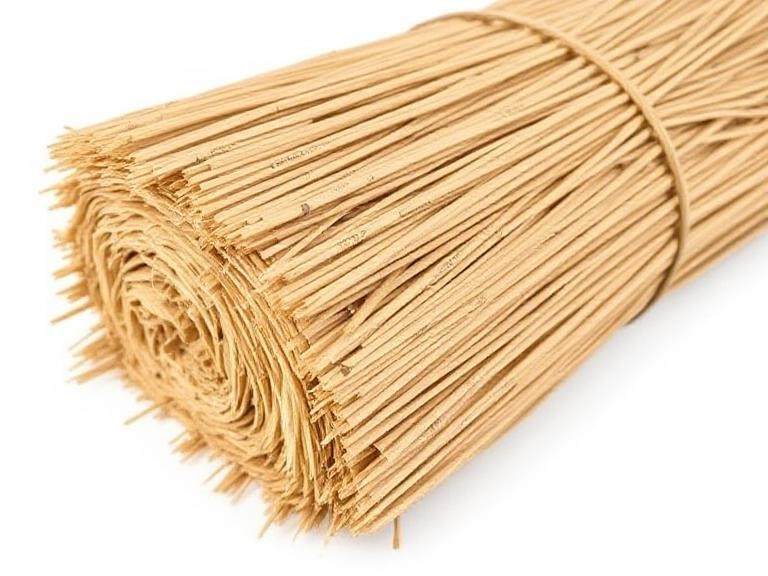
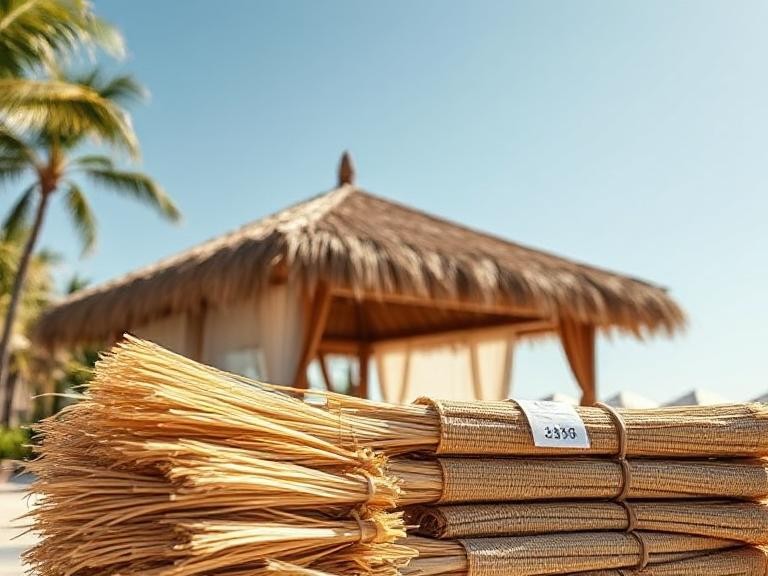
amaZulu, Inc. offers authentic-looking synthetic palapa thatch umbrellas that can add the perfect finish to your restaurant, tiki huts or beach resort. Guaranteed to last at least 15 years, our synthetic palapa thatch umbrellas are maintenance-free and able to resist decay, pests and other issues that come with natural alternatives.
Unlike traditional canvas umbrellas, palapa thatch umbrellas stay approximately 10 degrees cooler. Hot air escapes through the thatch and keeps your patio or dining area much more comfortable.
Additionally, amaZulu’s synthetic palapa thatch is 99% waterproof and can withstand harsh conditions in any storm. Each synthetic thatch panel is clipped to your umbrella, allowing them to lift up as wind blows through.
Installing Your Synthetic Palapa Thatch Umbrella
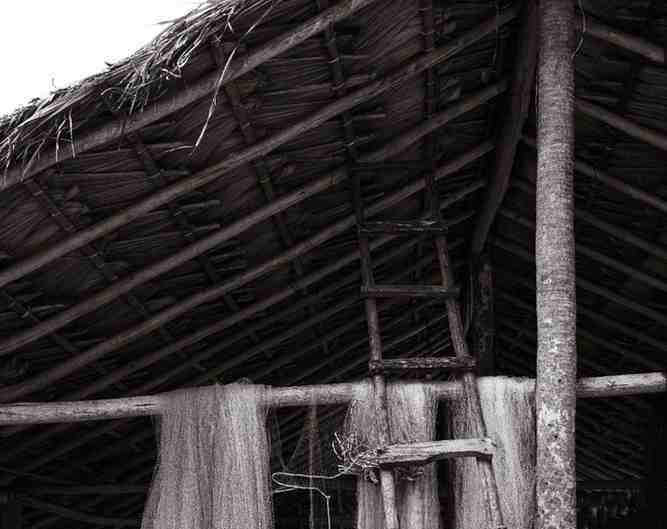
In our last How It’s Made blog, we discussed how to install synthetic palm thatch roofing. Let’s take a look at how to install your synthetic palapa thatch umbrella.
Step One: Install the Post
Palapa thatch material is very heavy. We suggest a 1’ x 1’ x 2’ foundation. Cut the pole to the length you need and place it in the foundation. Pour concrete around the pole and use a spirit level to ensure it is perfectly vertical.
Step Two: Assemble the Frame
Lay out each piece of the galvanized steel frame in the shape of a pie on the ground. Push the pieces together to form a cone shape and loosely bolt each piece together. Before placing the frame onto the post, go back and tighten all of your bolts.
Step Three: Put On the Struts
Attach each strut to the middle bolt on the frame section. Do not tighten them yet. Swing the struts towards the pole and mark with a pencil where they touch. This is where you’ll screw in your eye lag screws.
The eye lag screws should be vertically aligned so the struts can be attached properly. Loosely bolt the struts to the eye lag screws. Before tightening the screws, make sure the frame is level.
Step Four: Clip On the Palapa Thatch Panels
Start on the lowest rung to achieve that iconic layered effect. You’ll use eight palapa thatch panels on the first rung, six on the second and four on the third. Simply clip each palapa thatch panel to the rung. The final panel you attach on each rung will be the only one that will need trimming.
On the fourth rung, you’ll want to use the heavy-duty synthetic palapa thatch panels. The tighter radius at the top of the umbrella will make these panels harder to work with. Take care when positioning and trimming these denser panels.
Step Five: Place the Final Piece and Adjust the Panels
Take the top cone and place it on top of the umbrella. Use a broomstick if you can’t reach from your ladder. When it’s level, tie the top cone to the frame using the embedded strips.
Get underneath the umbrella and gently push each panel up. This will not only ensure that each is installed properly but will allow each synthetic palapa thatch panel to lay evenly.
Step Six: Enjoy Your Synthetic Palapa Thatch Umbrella!
Learn more about installing your palapa thatch umbrella. Take a look at our thatch umbrella installation guide for photos and more detailed instructions.
Related Posts about synthetic thatch products:
The Surprising Perks of Synthetic Thatch Umbrellas
The Ultimate Guide to Artificial Thatch Roofing
Benefits of Building with Thatched Roofs
Want to add some tropical flair to your next project? Give us a call today at (352)-243-5309.